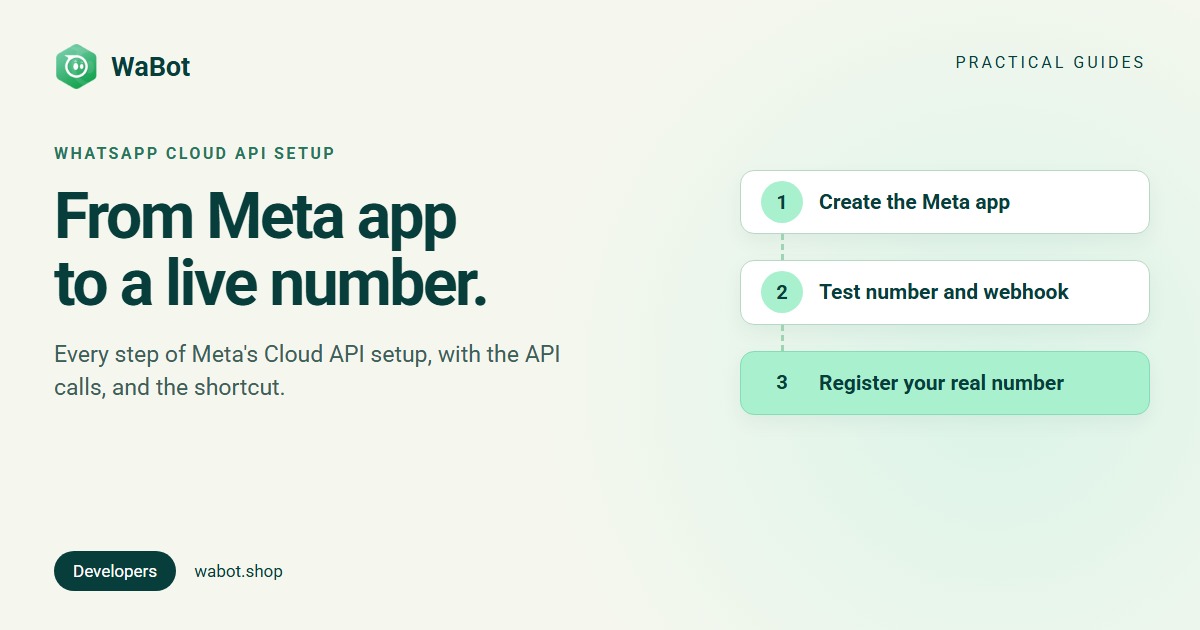
WhatsApp Cloud API setup is free and self-serve. You create a Meta app, send a test message from a number Meta gives you, then register your own number and swap the temporary token for a permanent one. The first test message takes minutes; a production-ready number takes an afternoon of developer work.
This guide follows Meta’s get-started guide and related docs, with the API calls. The examples use Graph API v27.0, the newest version in Meta’s Graph API changelog in November 2026. New to the Cloud API? See WhatsApp Cloud API explained. At the end: the shortcut, if you’d rather not host this yourself.
What you need before you start
- A Facebook account (or managed Meta account) registered as a Meta developer, and a phone with WhatsApp for test messages.
- A business portfolio. You can create one while creating the app.
- For production: a number you own, with a country and area code (no short codes), that can receive an SMS or a voice call. If it’s on WhatsApp today, see step 5.
- A public HTTPS server for webhooks, with a valid TLS certificate. Meta doesn’t accept self-signed certificates.
Step 1: Create a Meta app with the WhatsApp use case
- Open the Meta App Dashboard and click Create App.
- Add an app name and your email, choose the use case Connect with customers through WhatsApp and click Next.
- Select or create a business portfolio, review the publishing requirements, then click Create app. You land on the WhatsApp Quickstart page.
Step 2: Connect a Messaging account
Click Start using the API to open API Setup, then connect a Messaging account: pick one, or click Create a WhatsApp Business account. Save the Messaging account ID it shows.
The names are new: Meta now splits the old WhatsApp Business Account (WABA) into a WhatsApp account (the phone number) and a Messaging account (templates and billing), and your WABA ID now identifies the Messaging account (account docs). Meta also creates and registers a test number for you.
Step 3: Send a test message
In API Setup, click Generate access token. This is a temporary user access token. Meta’s access token guide says these expire quickly, so you’d generate a new one every few hours. Choose the test number under From, add your own WhatsApp number under To and click Send message. Meta sends its hello_world template. Save the test number’s phone number ID.
The same message from your terminal:
curl 'https://graph.facebook.com/v27.0/<PHONE_NUMBER_ID>/messages' \
  -H 'Authorization: Bearer <ACCESS_TOKEN>' \
  -H 'Content-Type: application/json' \
  -d '{
    "messaging_product": "whatsapp",
    "recipient_type": "individual",
    "to": "+15551234567",
    "type": "template",
    "template": { "name": "hello_world", "language": { "code": "en_US" } }
  }'
Then reply on your phone. A customer’s message opens a 24-hour customer service window for free-form messages; outside it, only approved templates go out. Every message type: how to send messages with the WhatsApp API.
Step 4: Set up your webhook
Incoming messages and delivery statuses reach you as webhooks. When you save your callback URL, Meta sends a GET request with hub.mode=subscribe, hub.verify_token and hub.challenge. If the verify token matches the one you chose, answer HTTP 200 with the challenge value (Meta: create a webhook endpoint). A minimal Express endpoint, based on Meta’s test webhook app:
const express = require('express');
const app = express();
app.use(express.json());

app.get('/webhook', (req, res) => {
  const mode = req.query['hub.mode'];
  const token = req.query['hub.verify_token'];
  if (mode === 'subscribe' && token === process.env.VERIFY_TOKEN) {
    res.status(200).send(req.query['hub.challenge']);
  } else {
    res.sendStatus(403);
  }
});

app.post('/webhook', (req, res) => {
  console.log(JSON.stringify(req.body, null, 2));
  res.sendStatus(200);
});

app.listen(process.env.PORT || 3000);- Deploy it on HTTPS and set
VERIFY_TOKENto a string you choose. - In the App Dashboard, open Use cases → Customize → Configuration, enter the Callback URL and Verify token, and click Verify and save.
- Subscribe to the messages field: incoming messages and statuses such as delivered and read.
Before production, check the X-Hub-Signature-256 header (an HMAC-SHA256 of the body, keyed with your app secret) and answer 200 quickly. Meta re-sends failed deliveries for up to 7 days, so expect duplicates. Full guide: WhatsApp webhook setup.
Step 5: Add and register your real number
- In API Setup, add a phone number from the From list. Enter the display name and business details. The name must follow Meta’s guidelines; if it’s turned down, see display name rejected: how to fix it.
- Verify the number with the code Meta sends by SMS or voice call.
- Register the number for the Cloud API. Meta’s registration guide says this works only through the API, not in WhatsApp Manager or the App Dashboard. The
pinis the number’s 6-digit two-step verification PIN; if it has none yet, the 6 digits you send become its PIN.
curl 'https://graph.facebook.com/v27.0/<PHONE_NUMBER_ID>/register' \
  -H 'Authorization: Bearer <ACCESS_TOKEN>' \
  -H 'Content-Type: application/json' \
  -d '{ "messaging_product": "whatsapp", "pin": "<6_DIGIT_PIN>" }'
You get 10 registration requests per number in 72 hours (error 133016). Meta is phasing out the PIN for eligible numbers gradually; while WhatsApp Manager still shows a Two-step verification tab, it applies (two-step verification). A new portfolio can register two numbers; Meta raises the cap to 20 after business verification or at the 2,000 messaging limit.
Is the number on the WhatsApp Business app today? Meta’s phone number docs say a number in use on WhatsApp must be deleted from the app before you register it. To keep the app and your chat history, onboard the number through coexistence with Embedded Signup instead. Both routes: use your existing WhatsApp number for the API and WhatsApp coexistence.
Step 6: Swap the temporary token for a system user token
- Open Business settings → System users and click Add to create a system user.
- Select it and click Assign assets: your app with Manage app, and your WhatsApp account with Manage WhatsApp Business accounts, both under Full control. An employee system user needs both the WhatsApp account and the Messaging account.
- Click Generate token, choose the app and an expiry, and add
business_management,whatsapp_business_messagingandwhatsapp_business_management. - Copy the token into your server’s secret store, never into browser or app code.
Expiry options, the app secret and what to do if a token leaks: WhatsApp API key and access tokens.
Step 7: Add a payment method
Meta bills messages to the Messaging account, so add a payment method in Billing Hub. Meta’s pricing page warns that without one it delivers service messages only within the free tier (the first 1,000 per number each month), not after. Templates are charged per delivered message, by category and recipient country: WhatsApp API pricing by country.
Step 8: Verify your business and raise your limits
Meta’s messaging limits cap how many unique customers you can reach in 24 hours outside a customer service window. A new business portfolio starts at 250, shared by all its numbers. Verifying your business is one way to reach 2,000; then the limit rises automatically to 10,000, 100,000 and unlimited while quality stays high and you use at least half the limit within 7 days. Verification also lifts the template cap from 250 to 6,000 once a number has an approved display name. Stuck? See Meta business verification rejected and how to increase your messaging limit.
The display name is reviewed when you reach a higher limit (display names). Check status, name review and limit in one call:
curl 'https://graph.facebook.com/v27.0/<PHONE_NUMBER_ID>?fields=status,name_status,whatsapp_business_manager_messaging_limit' \
  -H 'Authorization: Bearer <ACCESS_TOKEN>'
No App Review is needed if you only use your own business’s data. Meta’s permissions page reserves App Review and Advanced access for partners whose apps serve other businesses.
Go-live checklist
| Item | Done when |
|---|---|
| Real number | Registered, status CONNECTED |
| Token | System user token on your server, not the temporary one |
| Webhook | Your own HTTPS endpoint, subscribed to messages, signatures checked |
| Templates | Approved for the conversations you start |
| Billing | Payment method on the Messaging account |
| Limits | Business verification started if 250 a day isn’t enough |
The shortcut: connect your number with Wabot
Everything above gets you an API; you still build the inbox and automation. Wabot connects numbers through Meta’s Embedded Signup instead: in Settings → Meta Platforms, choose Connect your WhatsApp Business app (keeps the app on the same number) or Use a new number. It takes about 5 minutes, with no Meta app, system user or webhook server to run (connect guide; more in how to get the WhatsApp Business API).
- Status at a glance. The channel list shows each number’s Meta status, Registered and Subscribed, with a Register or Subscribe button if a step is missing. Register asks for the 6-digit PIN.
- Your Meta account pays Meta. Meta bills you directly, with no markup from us.
- An API on top. Every account gets a Client ID and Client Secret under Settings → Developer → Client Settings for Wabot’s REST API and its MCP server.
- Plans. Sign up and connect free; chatting and campaigns need a paid plan, from $9 a month (₹840/month + 18% GST in India).
Already set up a number in your own Meta app? On the same page in Live Mode, open More → Advanced: add with API credentials (for developers). It asks for Phone Number, Whatsapp Phone Number ID, Whatsapp Account ID (the WABA ID), Whatsapp App ID (App settings → Basic), Cloud API Version, Cloud API Access Token (it asks for a permanent System User token) and Cloud API Verify Token (any secret string, the same value as in your Meta webhook settings). Not sure which route fits your number? Message us on WhatsApp.
Skip the setup: connect your number in about 5 minutes
Create your free Wabot account and connect your WhatsApp number through Meta's Embedded Signup. No card needed.
Frequently asked questions
Is the WhatsApp Cloud API free to set up?
Yes. Meta charges nothing for the app, the test number or access to the API. You pay per delivered template message, and for service replies beyond the first 1,000 per number each month.
How long does the temporary access token last?
Not long. Meta says user access tokens from the App Dashboard expire quickly, so you’d generate a new one every few hours. Use a system user token for anything that runs on a server.
Can I register a number that’s already on WhatsApp?
Not directly. Meta’s docs say a number in use on WhatsApp must be deleted from the app first. To keep the WhatsApp Business app on the same number, onboard it through coexistence with Embedded Signup instead.
Why does my webhook verification fail?
Your endpoint must answer Meta’s GET request with HTTP 200 and the exact hub.challenge value when hub.verify_token matches the Verify token in the App Dashboard. It also needs a valid TLS certificate; self-signed ones are not supported.
Do I need business verification before I go live?
No. A new business portfolio can message up to 250 unique customers in 24 hours outside customer service windows from day one. Verifying your business is one way to reach 2,000, after which Meta raises the limit automatically while your quality stays high.
From test message to production
Cloud API setup is eight steps: app, Messaging account, test message, webhook, real number, system user token, payment method and verification. Build it yourself if WhatsApp is part of your product. If you just need the number working in a team inbox, connect it through Embedded Signup and spend the afternoon on your customers instead.