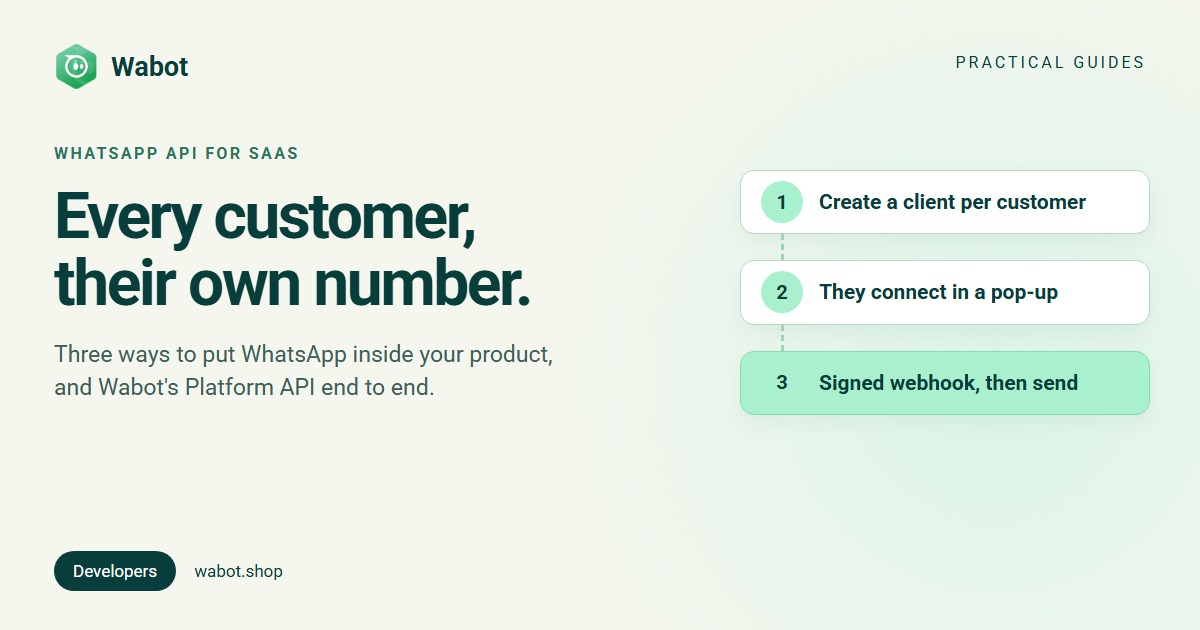
Your customers want WhatsApp inside your product: a booking app that confirms appointments, a CRM that logs chats, clinic software that sends reminders. But each customer must bring their own number, on their own Meta account, and pay Meta for their own messages. So the WhatsApp API for SaaS is multi-tenant from day one.
Below: three ways to give every customer their own number, the plumbing each needs, and Wabot’s Platform API end to end, with code from the docs. Connecting your own company’s systems instead? See WhatsApp API integration.
Three ways to add the WhatsApp API to your SaaS
| 1. Become a Tech Provider | 2. Join an ISV programme | 3. Build on a platform | |
|---|---|---|---|
| Meta steps for you | Business verification, then App Review | Your own Meta app, approved by Meta (Twilio’s route) | None: the platform has done them |
| What you build | Embedded Signup, token exchange, number registration, webhooks, sending | Embedded Signup plus the provider’s API | API calls and a connect button |
| Meta’s message charges | Billed to your customer | Depends on the provider | Billed to your customer (on Wabot) |
1. Become a Meta Tech Provider
Your own Meta app serves other businesses. Meta asks for business verification, then App Review with videos of a message sent and a template created from your app. Then you build Embedded Signup, exchange each customer’s code for a business token, register the number and subscribe to webhooks. By default you can onboard up to 10 new business customers in a rolling 7-day window, and 200 after Business Verification, App Review and Access Verification. More: Meta Tech Provider and WhatsApp Embedded Signup.
2. Join an API provider’s ISV programme
Several providers run programmes for independent software vendors (ISVs). As described on their own pages on 16 Nov 2026 (compared in WhatsApp partner programs):
- Twilio (Tech Provider program for ISVs): Meta approves your own app, which you link to Twilio as a “Partner Solution”; together these steps “usually take 3-4 weeks”. Each customer is registered with “subaccount credentials”, and you build the signup with Meta’s Embedded Signup and Twilio’s Senders API.
- 360dialog (WhatsApp Partner Platform): a Starter plan at €250 a month plus €49 per channel (five channels included), “zero markup on Meta fees”, and “Your clients pay Meta’s rates. You set your own margin.”
- Gupshup (ISV Partner Program): “Fixed Gupshup per message fee – as low as $0.001*”, with the WhatsApp fee “at actuals”.
3. Build on a platform that is already a Tech Provider
The platform holds the Meta app, App Review and Embedded Signup; you call its API. Wabot is a Meta Tech Provider, and its Platform API gives you a client account per customer, a connect pop-up, signed webhooks and per-client credentials. The trade-off: Meta’s window shows the Wabot name while a number connects.
The multi-tenant plumbing every route needs
Whichever route you take, a multi-tenant WhatsApp API setup keeps four things apart per customer:
| Piece | Meta’s rule | On Wabot |
|---|---|---|
| One WhatsApp Business Account (WABA) per customer | Customers onboarded with Embedded Signup “own all of their WhatsApp assets”, with WhatsApp Manager access “you cannot restrict” (Meta) | One client account per customer, connected to the customer’s own business |
| Tokens per customer | Tech Providers “use business tokens exclusively”, one per customer | Each client account has its own Client ID and Client Secret |
| Webhooks routed per customer | “All webhooks for all of your onboarded business customers” reach your app’s callback URL, so you route by account | Platform webhooks carry the client’s id and your external_id |
| Billing on the customer’s Meta account | Tech Provider clients “must provide their own payment method” (Meta) | Meta bills the WABA that owns the number; each client account has its own Wabot plan |
Don’t put customers’ numbers in your own business portfolio: Meta caps a portfolio at two registered numbers at first, and the assets should be the customer’s. Keep a map from your customer ID to the provider’s too; on Wabot, that’s external_id.
Wabot Platform API, end to end
Base URL: https://app.wabot.shop/platform/v1, with Authorization: Bearer wbp_… on every call and 120 requests a minute per key. With your own business account set up, go to profile picture → Edit Profile → Account type, choose My software connects my customers’ numbers and click Save.
How a customer connects WhatsApp from your app
Step 1: make an API key in the Developer window
On the Clients page, click Developer (tabs: API keys, Webhooks, Quick start). On API keys, click Make key and copy it: it’s shown only once. A key acts as your login, so keep it on your server.
Step 2: create a client with your external_id
curl -X POST https://app.wabot.shop/platform/v1/clients \
  -H "Authorization: Bearer $WABOT_PLATFORM_KEY" \
  -H "Content-Type: application/json" \
  -d '{
    "name": "Lumiere Cafe",
    "country": "Brazil",
    "external_id": "cust-42",
    "contact": { "name": "Ana Souza", "email": "ana@example.com" }
  }'
{
"success": true,
"client": { "id": 466, "external_id": "cust-42", "name": "Lumiere Cafe", "ready": false }
}name and country are required. external_id is your own id: letters, digits and . _ : @ -, up to 100 characters, unique among your clients. Keep the returned id, or look it up with GET /clients?external_id=cust-42. ready turns true after about a minute, when client.ready fires.
Step 3: make a connect link with return_url
curl -X POST https://app.wabot.shop/platform/v1/clients/466/connect-link \
  -H "Authorization: Bearer $WABOT_PLATFORM_KEY" \
  -H "Content-Type: application/json" \
  -d '{ "return_url": "https://app.example.com/settings/whatsapp", "expires_in_minutes": 30 }'
return_url is where your customer comes back to (https; http only on localhost), and origin defaults to its origin. expires_in_minutes takes 10 to 10080 (default 7 days). The url is returned only once; a link connects one number, and a new link cancels the last. Run this in the server route your page calls next.
Step 4: open it in a pop-up from your page
<script src="https://app.wabot.shop/sdk/wabot-connect.js"></script>connectButton.addEventListener("click", () => {
WabotConnect.open(
// Ask your server for the link. The pop-up opens straight away, so browsers don't block it.
() => fetch("/api/whatsapp/connect-link", { method: "POST" }).then((r) => r.json()).then((d) => d.url),
{
onConnected: ({ clientId, numbers }) => showConnected(numbers), // e.g. ["4321"]: last digits
onError: ({ code }) => showProblem(code), // "expired", "revoked", "used" or "no_link"
onClose: () => {}, // closed before connecting
},
);
});Meta’s signup can’t run inside your domain or an iframe, hence the pop-up. Your customer logs in with Facebook, picks or creates their business, and keeps their WhatsApp Business app on the number (coexistence) or uses a new one. If the browser blocks the pop-up, the page opens in the same tab and returns to return_url with ?wabot_status=connected&wabot_client_id=466. A page sent with Cross-Origin-Opener-Policy: same-origin needs same-origin-allow-popups. Treat onConnected as a hint; confirm with the webhook.
Step 5: receive client.whatsapp.connected and check the signature
Add an endpoint on the Webhooks tab, or with POST /webhooks and a url plus the events you want: client.ready, client.connect_link.opened, client.whatsapp.connected, webhook.test. Store the secret: it’s shown only once. Each delivery carries your external_id:
{
  "id": "evt_6f1c2b9e0d4a7c3e5b8f1a2d",
  "type": "client.whatsapp.connected",
  "created_at": "2026-11-16T10:20:00.000Z",
  "data": {
    "client": { "id": 466, "external_id": "cust-42", "name": "Lumiere Cafe" },
    "numbers": [{ "phone_number": "+55 11 98765-4321", "verified_name": "Lumiere Cafe", "business_app": true }]
  }
}
X-Wabot-Signature looks like t=1795342800,v1=5d41…: an HMAC-SHA256 of the timestamp, a dot and the raw body, keyed with your endpoint’s secret. Check it before parsing the JSON:
import crypto from "node:crypto";

// rawBody: the request body exactly as received (a string), not re-serialised JSON.
function isFromWabot(rawBody, header, secret) {
  const parts = Object.fromEntries(header.split(",").map((p) => p.split("=")));
  const t = Number(parts.t);
  if (!t || Math.abs(Date.now() / 1000 - t) > 300) return false; // older than 5 minutes
  const expected = crypto.createHmac("sha256", secret).update(`${t}.${rawBody}`).digest("hex");
  const given = Buffer.from(parts.v1 || "", "hex");
  return given.length === 32 && crypto.timingSafeEqual(Buffer.from(expected, "hex"), given);
}
Answer with a 2xx within 10 seconds, or Wabot tries again after 1 and 10 minutes with the same event id, so skip ids you’ve handled.
Step 6: send messages as that client
curl https://app.wabot.shop/platform/v1/clients/466/credentials \
  -H "Authorization: Bearer $WABOT_PLATFORM_KEY"
It returns client_id and client_secret. Use them like any Wabot account’s: POST https://api.wabot.shop/v1/authenticate with the clientid and clientsecret headers gives a one-hour token for sending template and session messages as that client (authentication docs, send message guide). Store each secret with its customer, encrypted.
Your customers on the Clients page
Limits and errors
- At most 10 clients without a connected number at a time, and 100 new clients a day.
- 120 requests a minute per key; five active keys.
- Three webhook endpoints, each a public https URL.
| Status | Code | Meaning |
|---|---|---|
| 401 | INVALID_KEY | No key, or a deleted or unknown key |
| 403 | PARTNER_MODE_OFF | Client management is off for your login |
| 404 | CLIENT_NOT_FOUND, WEBHOOK_NOT_FOUND | Not one of your clients or webhook endpoints |
| 409 | NO_OWN_ACCOUNT | Set up your own business account first |
| 409 | TOO_MANY_UNCONNECTED_CLIENTS | Ten clients have no number yet |
| 409 | EXTERNAL_ID_TAKEN | Another client has this external_id |
| 409 | TOO_MANY_WEBHOOKS | Delete an endpoint first |
| 422 | INVALID_CLIENT, INVALID_LINK, INVALID_URL, INVALID_EVENTS | Invalid fields, webhook URL or events |
| 429 | TOO_MANY_REQUESTS, TOO_MANY_CLIENTS, TOO_MANY_LINKS | Slow down, or try again tomorrow |
Every endpoint and field: the Platform API docs.
What your customers see and pay
Your customer needs a Facebook login and a business in Meta (they can create one in Meta’s window), but no Wabot login. The connect page carries the Wabot name and logo. Meta bills message charges to the WhatsApp Business Account that owns the number, so your customer pays Meta directly, with no markup from us. Each client account has its own plan and wallet on Wabot’s normal plans: it starts on the Free plan, and welcome credits arrive when its first number connects.
Connect your first customer's WhatsApp
Create your free Wabot account, choose My software connects my customers' numbers under Account type, and make your first API key. No card needed.
Frequently asked questions
How do I add the WhatsApp API to my SaaS product?
Become a Meta Tech Provider and build Embedded Signup yourself, join an API provider’s ISV programme, or build on a platform that is already a Tech Provider. In all three, each customer connects their own number to their own WhatsApp Business Account.
How do you keep tenants’ tokens, webhooks and billing apart?
Store one token or credential pair per customer, keyed by your customer ID, and route each webhook by the account it belongs to. Meta’s charges stay on each customer’s own account. On Wabot, each client account has its own credentials, and platform webhooks carry your external_id.
Who pays for WhatsApp messages sent from my product?
Meta bills the WhatsApp Business Account that owns the number, so with a Tech Provider such as Wabot each customer pays Meta with their own payment method. You price your own product as you choose.
Can my customers keep the WhatsApp Business app on their number?
Yes. The connect page asks whether they use the WhatsApp Business app on that number. They can keep the app and their chats, or connect a new number instead.
The short version
Every route ends in the same place: one WhatsApp Business Account per customer, owned by the customer, with its own token, webhook routing and Meta bill. The routes differ in how much of the Meta side you build.
On Wabot: a key, POST /clients with your external_id, a connect link, the pop-up, a signed client.whatsapp.connected webhook, then the client’s own credentials for sending.